Scavenger Workshop Astromech Skirt CS:R
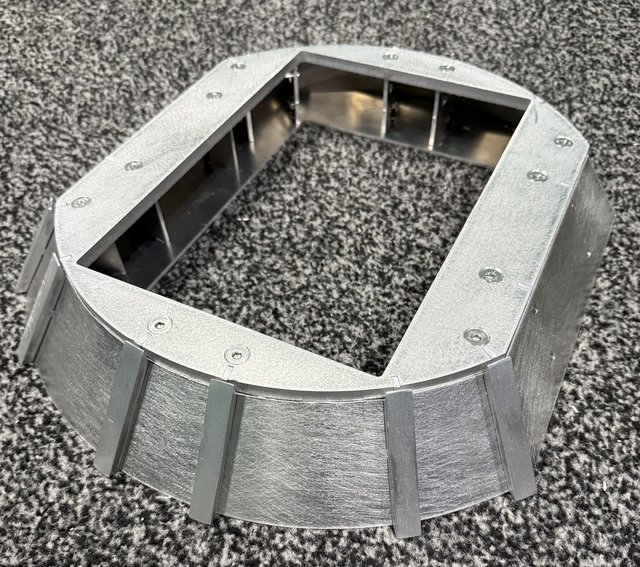
Difficulty level: Moderate

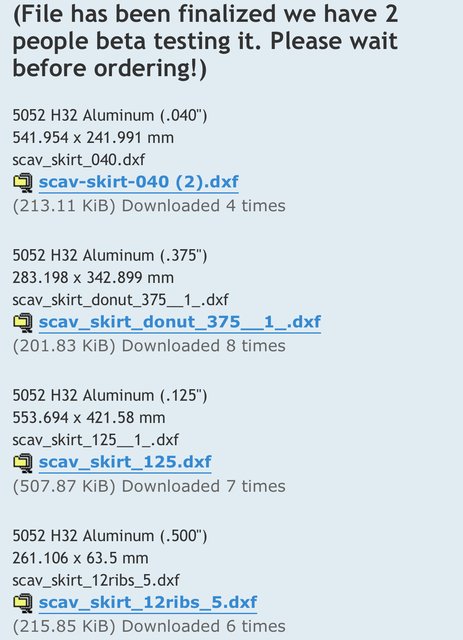
File 1 of 4
5052 H32 Aluminum (.040")
541.954 x 241.991 mm
scav_skirt_040.dxf
File 2 of 4
5052 H32 Aluminum (.375")
283.198 x 342.899 mm
scav_skirt_donut_375__1_.dxf
File 3 of 4
5052 H32 Aluminum (.125")
553.694 x 421.58 mm
scav_skirt_125__1_.dxf
File 4 of 4
5052 H32 Aluminum (.500")
261.106 x 63.5 mm
scav_skirt_12ribs_5.dxf
Parts list.
1 X https://www.mcmaster.com/90593A001/ Black-Oxide Steel Hex Nut, Medium-Strength, Class 8, M3 x 0.5 mm Thread
1 X https://www.mcmaster.com/90592A016/ Steel Hex Nut, Medium-Strength, Class 8, M6 x 1 mm Thread
1 X https://www.mcmaster.com/92125A130/ 18-8 Stainless Steel Hex Drive Flat Head Screw, M3 x 0.5 mm Thread, 10 mm Long
1 X https://www.mcmaster.com/92125A242/ 18-8 Stainless Steel Hex Drive Flat Head Screw, M6 x 1 mm Thread, 25 mm Long
1 X https://www.mcmaster.com/92125A240/ 18-8 Stainless Steel Hex Drive Flat Head Screw, M6 x 1 mm Thread, 20 mm Long
E6000 Glue
Locktite Thread Lock
 Scavenger-Skirt.zip
- (107.21 KiB) Downloaded 276 times


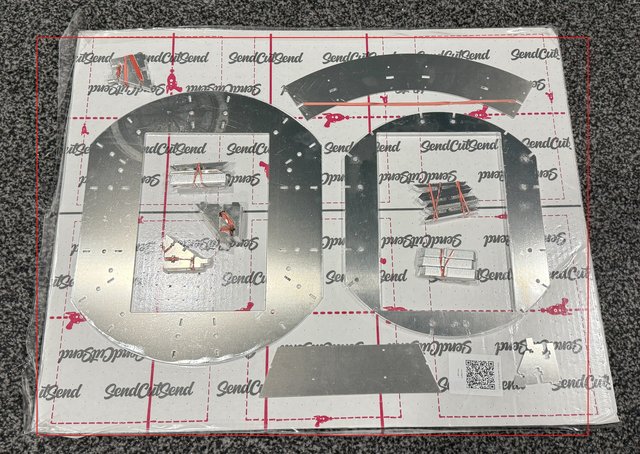
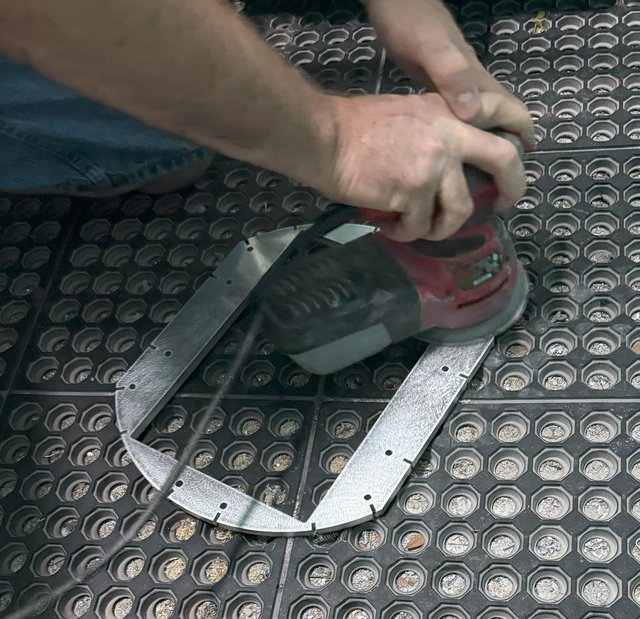
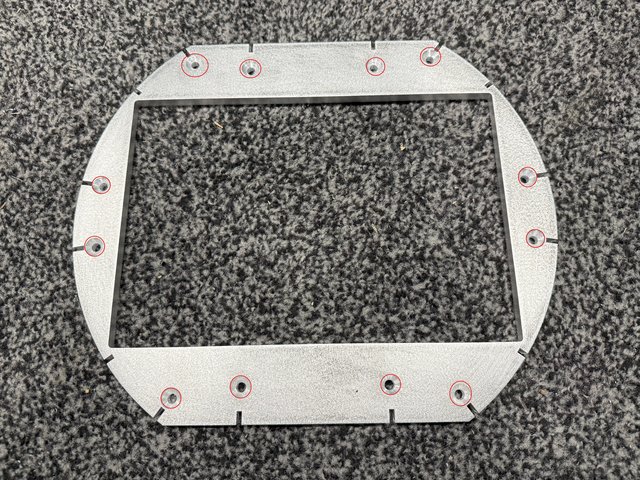
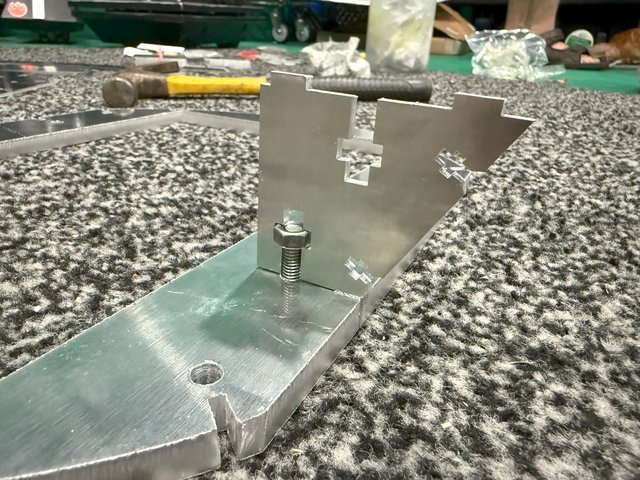
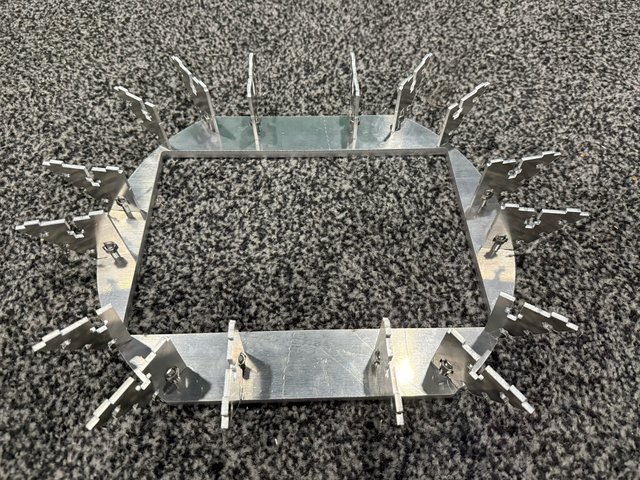
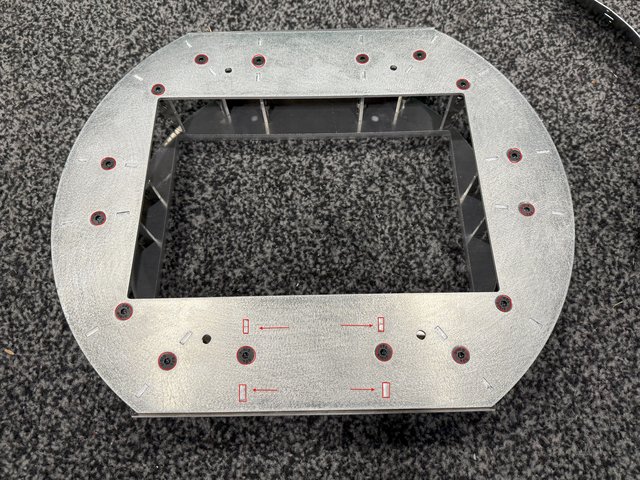
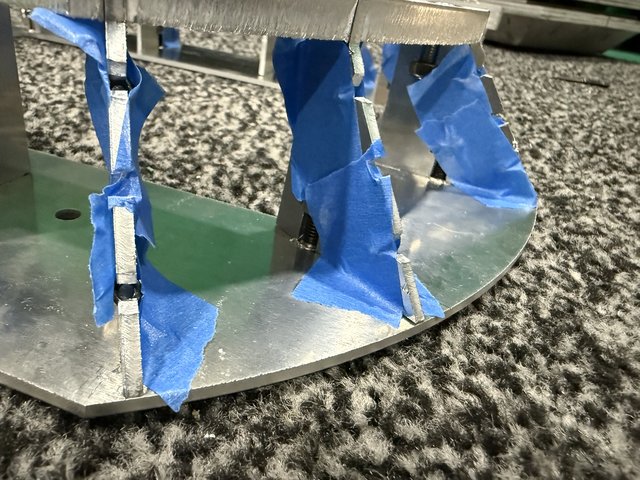
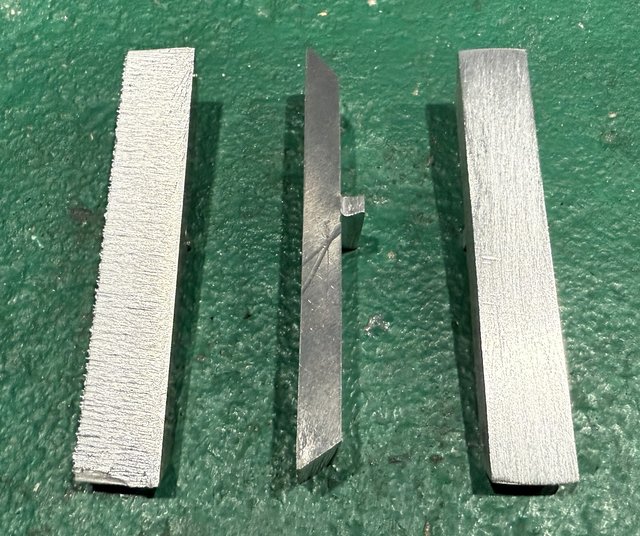
 Well that's why we made separate inner support files and there pretty cheap. I'm assuming you only need 1 or two. You can't possible be that stupid to screw them all up but hay if you did we included the file for all the supports. Please ignore the fact that I had to order them all.